Maple Pecan Protein Bars

Hola!

It's Friday!

And I've got a treat for you!

In the form of protein snack bars.

Maple Pecan Protein Bars | ediblesoundbites.com

So what are these bars like, you ask?

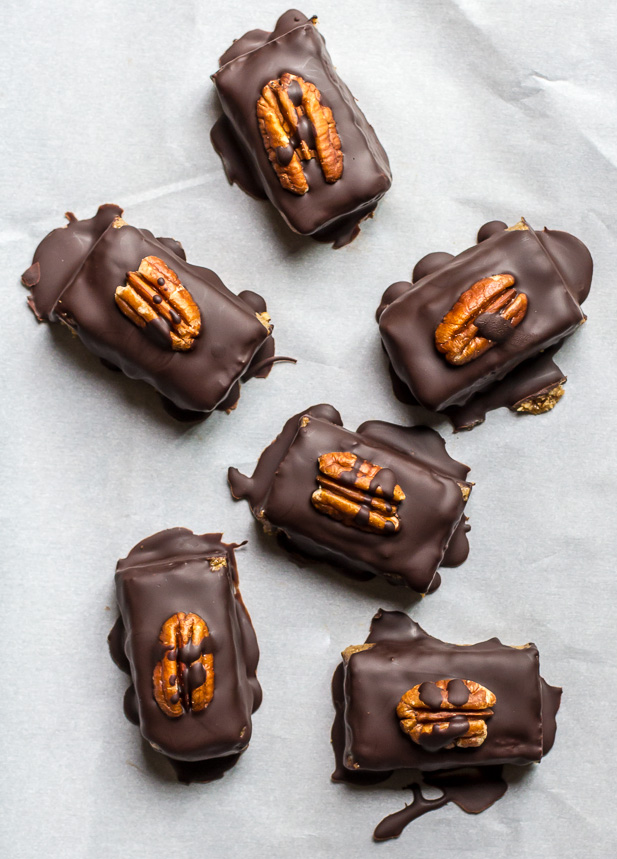
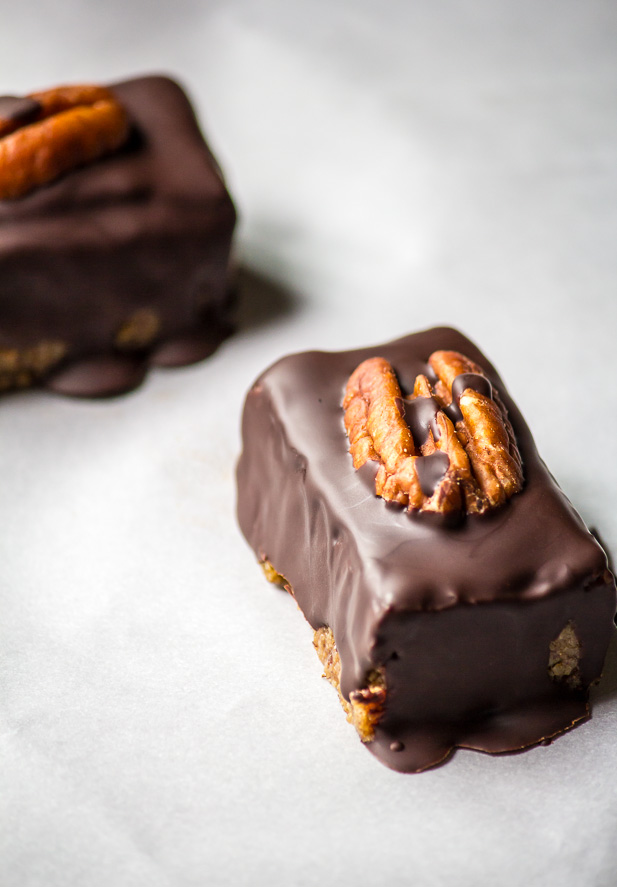
Well, they're soft, thick, and they taste like maple-pecan bliss coated in a thin layer of extra dark chocolate. The texture and flavour is so good. And you know what else? To top it all off their really easy to make.

Maple Pecan Protein Bars | ediblesoundbites.com

I added 1/2 a cup of North Coast Naturals vanilla iso whey protein powder to rev up the protein in these bars. This protein powder is truly one of the best I've tried in terms of taste and blend-ability. So creamy + smooth! You can substitute your favourite vanilla protein to veganize these bars of course. Just make sure that whichever protein powder you use, it tastes good, because you will taste it.

Maple Pecan Protein Bars | ediblesoundbites.com

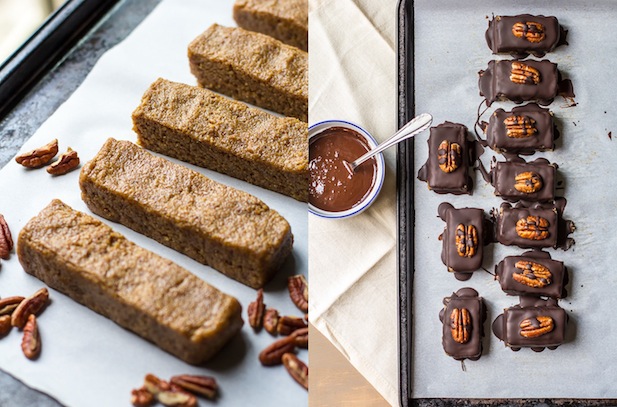
I actually made a double batch of these, pressed them into my trusty 7 x 5 baking dish, and cut the bars in half. That's why they look bigger in the above photo without the chocolate coating. The nutrition is the same as the single batch that makes 6 bars, but making the double batch this way gave the bars a nice height.

Maple Pecan Protein Bars | ediblesoundbites.com

The combination of pecans and coconut sugar is out of this world. Plus it also provides your body with some good functional fuel.

Maple Pecan Protein Bars | ediblesoundbites.com

These are perfect as a pre or post workout snack. They do best when stored in the fridge. They hold up pretty well for short periods of time when they've been out of the fridge, but they do tend to soften up a bit and get sticky.

Once you start making your own homemade energy/ protein bars you'll quickly realize how much better they taste than the store bought ones. Especially when you know 100% exactly how much of what ingredient went into them.

Adapted from Protein Pow

Maple Pecan Protein Bars

Maple Pecan Protein Bars | ediblesoundbites.com

by Jennifer Trennum

Keywords: food processor no-bake snack grain-free gluten-free vegan option soy-free protein low-sodium almond flour chocolate maple syrup almond milk bars

6073254

Ingredients (makes 6 bars)

  • 1/2 cup (50 g) vanilla whey protein powder (I used this one by North Coast Naturals)
  • 1/3 cup (40 g) pecan halves
  • 1/2 cup ground almonds
  • 2 tbsp coconut sugar
  • 1 tbsp lucuma powder (optional)
  • 2 tbsp unsweetened almond milk
  • 2 tsp maple extract
  • 1 tbsp maple syrup
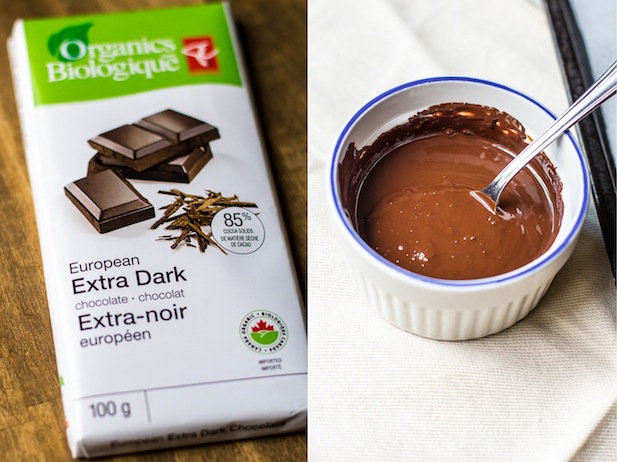
  • 1/4 cup (40 g) dark chocolate

Instructions

In a food processor, mix together vanilla protein powder, pecan halves, ground almonds, coconut sugar, and lucuma powder until smooth. Add in the almond milk, maple extract, and maple syrup. Mix well to combine.

Shape the dough into 6 bars using your hands or firmly press into a 7 x 5 inch baking dish lined with parchment paper. Place the bars in the fridge for 1 hour to firm up. If using the baking dish method, slice into 6 bars. Place the individual bars on a baking tray lined with a sheet of tin foil or parchment.

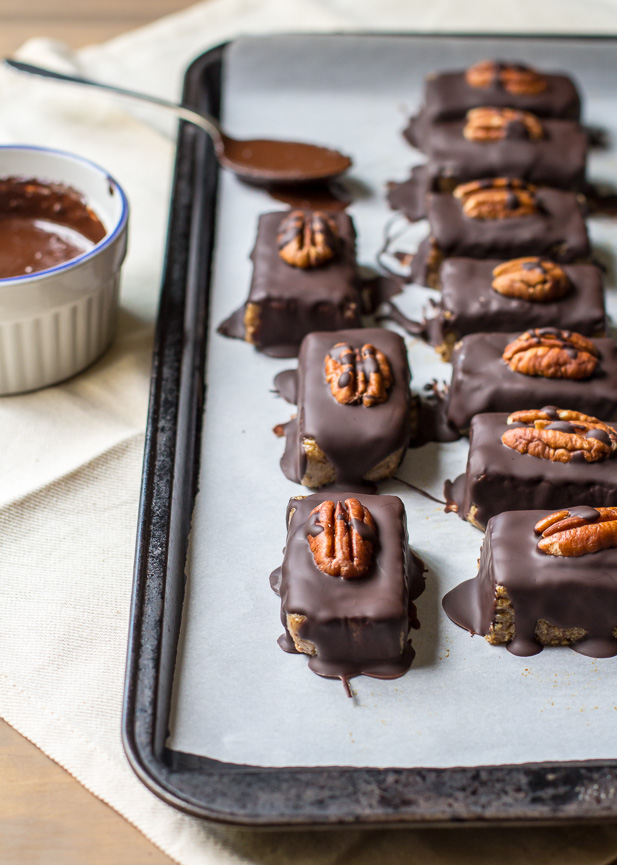
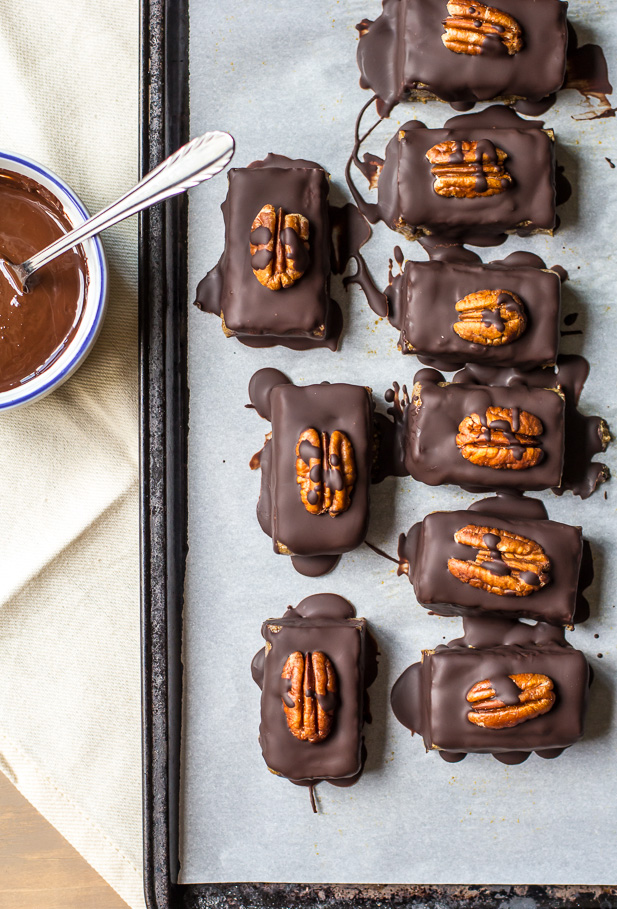
Melt the dark chocolate in a small heat proof bowl set over a pot of water on low heat. Dunk the bars into the melted chocolate or spoon the chocolate over them to coat. Return the bars to the lined baking tray. Garnish with a pecan on top of each bar and place in the freezer to set.

Store in the freezer for a week or longer in an air-tight freezer bag or container.

Powered by

Recipage

Maple Pecan Protein Bars | ediblesoundbites.com

Now bring on the weekend!

Coconut Whipped Cream Photo Tutorial

Check out my new obsession. Coconut Whipped Cream! I've know about this for a while now, but recently I started thinking to myself, "why don't I have a step-by-step recipe on my blog?" I know that whipped coconut cream isn't new to many of you. It's been around for some time, and there are a lot of great one's out there, but I wanted to tackle one of my own

Coconut Whipped Cream-11.jpg

If you haven't made coconut whipped cream before, then now is the time. Just think of that pumpkin pie to come on Thanksgiving. It's vegan, It's dairy free (so there are no ugly consiquence's for those who are lactose intolerant), it's gluten free, and it's to die for! Especially if you love coconut. What more could one ask for?

Coconut Whipped Cream Photo Tutorial | ediblesoundbites.com

What I really love about it is that you can control how much sugar get's added to the whipped cream. I'm going to show you just how simple this is to make. So here we go.

1. Take a can of full-fat coconut milk and pop it in the refirgerator the night before making the coconut whipped cream. You must use full-fat coconut milk for the whipping process. Don't use light because the recipe won't turn out. Chilling the can of coconut milk causes the coconut cream to separate and solidify at the bottom, leaving the watery liquid at the top of the can.

2. Place your mixing bowl in the fridge for 5 to 10 minutes prior to whipping.

3. Remove the chilled can from the fridge and flip it. This way when you open the can, all the liquid will be at the top, making it easier to just pour it off to get to the coconut cream underneath.

Coconut Whipped Cream-1.jpg

4. Open the can and pour the coconut water into another bowl.Don't discard the water! Make sure you save it and add it to your next smoothie. It's pure gold!

Coconut Whipped Cream Photo Tutorial | ediblesoundbites.com

5.Scoop out the thickened coconut cream into your chilled mixing bowl. As you can see below, the coconut cream is hardened at the bottom of the flipped can.

Coconut Whipped Cream Photo Tutorial | ediblesoundbites.com

6. Whip the cream until it becomes fluffy and light. I used my stand mixer for this, but hand beaters or a whisk will also do the trick. Mix for 2-4 minutes. You will end up with small soft peaks.

Coconut Whipped Cream-9.jpg

7.Add vanilla and sugar, if using. At this point you can mix in 1/2 tsp - 1 tsp of vanilla extract or if you're feeling really fancy, the scraped out seeds from a vanilla bean. For sweetness you can add cane sugar, confectioner's/ powdered sugar or maple syrup; 1-3 tablespoons or to your desired taste. Beat until incorporated.

Now serve it up any way you like!!! Just in time for some fresh pumpkin pie. I also recommend trying it on fresh fruit and pancakes.

Coconut Whipped Cream Photo Tutorial | ediblesoundbites.com

To store:

The whipped cream will last up to 1 1/2 - 2 weeks in the refrigerator if stored in a sealed airtight container. It holds very well in the fridge, but if you're not going to use it immediately, you can re-whip it until it reaches the desired texture.

Coconut Whipped Cream

Coconut Whipped Cream Step-by-Step Photo Tutorial

by Jennifer Trennum

Prep Time: 5 minutes

Cook Time: 5 minutes

Keywords: how-to dessert dips, spreads frosting/ icing gluten-free grain-free low-carb low-sodium vegan vegetarian soy-free coconut maple syrup

6066772

Ingredients (1.5 cups)

  • 1 (14 ounce) can full-fat coconut milk, refrigerated for 24 hours
  • 1-3 tablespoons pure cane sugar, powdered sugar, or maple syrup (optional; add to taste)
  • 1 teaspoon vanilla extract

Instructions

Place your mixing bowl and beater in the freezer for 5-10 minutes to chill.

Remove the can of coconut milk from the refrigerator and flip it over so the label is upside down. Open the can and pour the coconut water into a dish or measuring jug to save for later. Remove the mixing bowl from the freezer. Using a spoon, scoop out the thickened coconut cream into your chilled bowl.

Using the whisk attachment for your stand mixer, or hand beaters, beat the coconut cream on medium speed for 2-4 minutes, or until the cream becomes light and fluffy and small peaks form. Add in your sweetener of choice and vanilla extract, and beat until incorporated.

Serve the coconut whipped cream, or transfer to a sealed airtight container and refrigerate. If you're not going to use the whipped cream immediately and it becomes too firm for your liking, you can re-whip it when ready to use to reach the desired consistency.

Notes

The whipped cream will last up to 1 1/2 - 2 weeks in the refrigerator stored in a sealed container.

Powered by

Recipage

I hope this was helpful and that everyone has a very happy Thanksgiving!!!