Healthy Caramel Slice Bars

Healthy Caramel Slice Bars | ediblesoundbites.com

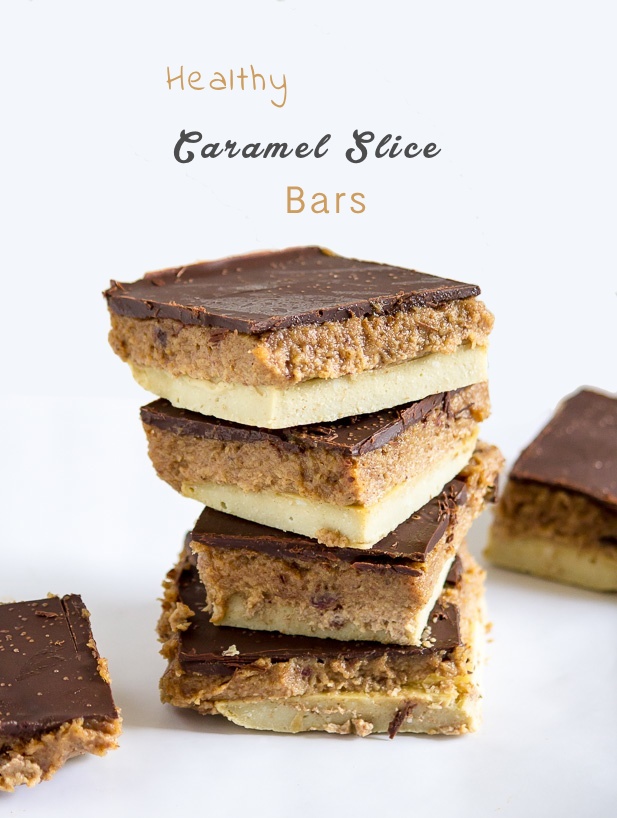
This is one of those dangerously delicious recipes. I warn you now that these bars are basically addictive. Addictive but oh so healthy. 

I've been itching to get this recipe up and posted on the blog for like a month now. That's also how long I've had this draft open on my computer. Things have been a bit crazy but I wanted to make sure this recipe turned out just perfect. And the photos eye popping delicious of course. I must thank you all for the wonderful comments on my photography lately. I'm always working to improve and learn more, so thanks a bunch! It means a lot to me.
Healthy Caramel Slice Bars | ediblesoundbites.com

I'm super excited for these bars because they're totally sugar-free. The only sugar you'll find in this dessert is the natural sugar from the dates and whatever small amount that exists in the dark chocolate topping.
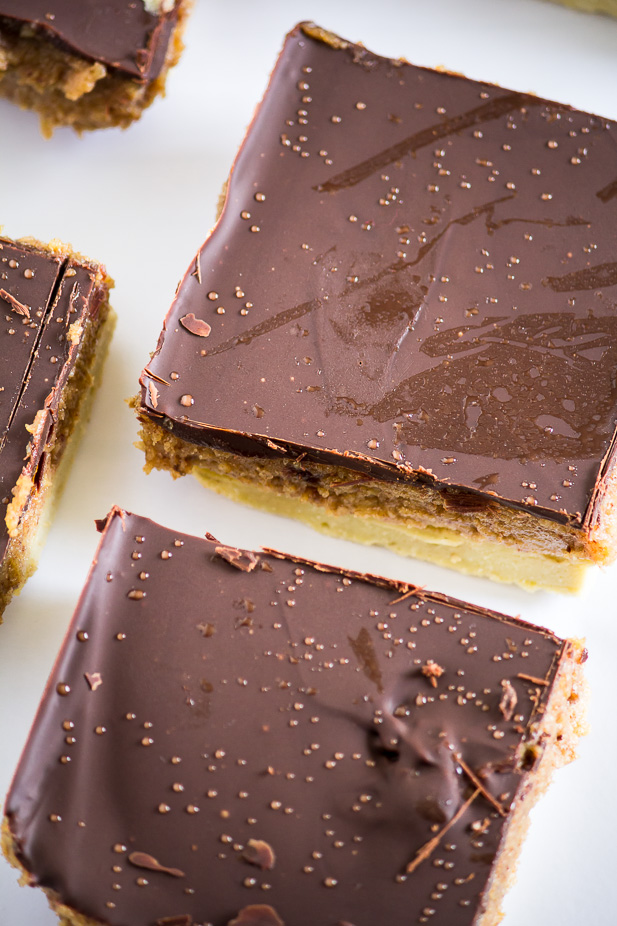
Healthy Caramel Slice Bars | ediblesoundbites.com

The caramel layer of these bars are made from just a few things:

  • pitted dates
  • cashews, soaked in water and drained
  • almond milk
  • sea salt

Soaking the cashews helps to make the caramel layer silky smooth and easy to blend. You can soak them overnight or at least 2 hours if you are short on time. Once everything is blended together you're left with a slightly sweet caramel like spread. 

Holy friggin' delicious!

These dessert bars aren't too difficult to make. Trust me, the little bit of freezer time it takes for them to set is worth the wait!

Healthy Caramel Slice

Healthy Caramel Slice Bars | ediblesoundbites.com

by Jennifer Trennum

Prep Time: 20 minutes

Cook Time: 15-20 minutes

Keywords: bake food processor blender dessert snack dairy-free sugar-free gluten-free grain-free cashews chocolate dates coconut flour bars

Ingredients (makes 8 large or 16 small squa)

Base
  • 2 tablespoons melted coconut oil
  • 3 eggs + 1 egg white
  • 1/3 cup coconut flour
  • 1/4 cup arrowroot powder
  • 1/4 cup almond milk
  • 1 teaspoon vanilla extract
  • pinch of sea salt, to taste
Caramel Layer
  • 1 1/2 cups dates, pitted
  • 1 cup unsalted cashews, soaked in water overnight
  • 2 tablespoons almond milk
  • pinch of sea salt
Chocolate Topping
  • 145 grams dark chocolate

Instructions

To make the base

Preheat oven to 350ºF. Line an 8-inch square pan with two pieces of parchment paper, one going each way. This makes it easy to lift out the bars later on.

Mix all of the base ingredients together until combined and batter is formed with no lumps. Pour the mixture into the bottom of prepared baking pan. Bake for 15-20 minutes, or until golden. Remove from oven and set aside to cool.

To make the caramel layer

Add all the middle layer ingredients into the processor and process until smooth. Spread evenly onto your base layer and smooth out. Place in the freezer for at least 1 hour to set, until the middle layer is very firm to the touch.

To make the chocolate topping

When the middle layer is completely solid, prepare the topping. Melt the chocolate in a double broiler and spread evenly over top of the caramel layer. Return to the freezer until the chocolate is firm and the bars are solid.

Remove from the freezer 15 minutes before gently slicing. Serve with a sprinkle of sea salt on top if desired. Wrap leftovers and store in the fridge or freezer.
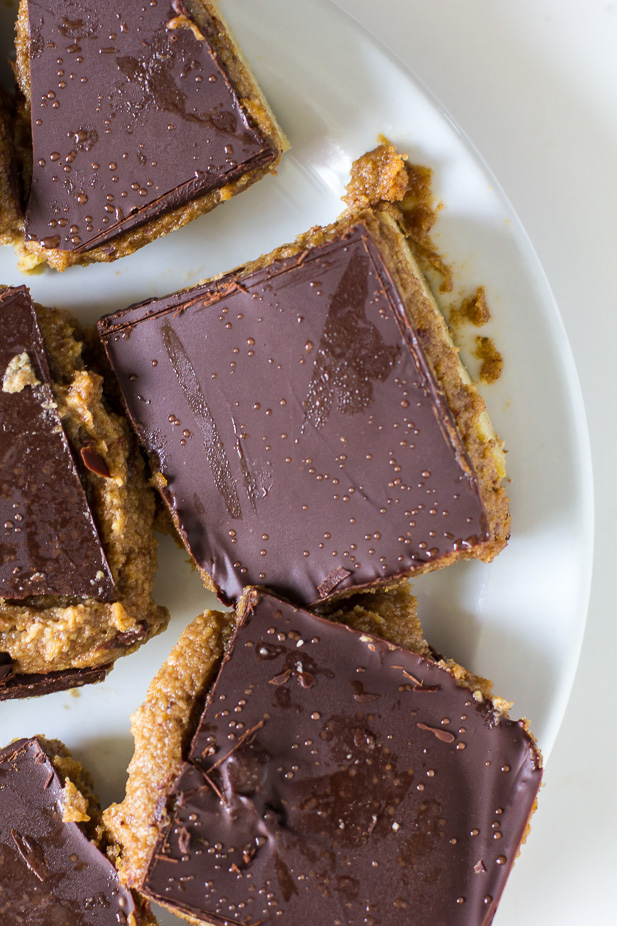
Healthy Caramel Slice Bars | ediblesoundbites.com 

Happy Friday!!!

Peanut Butter Cups

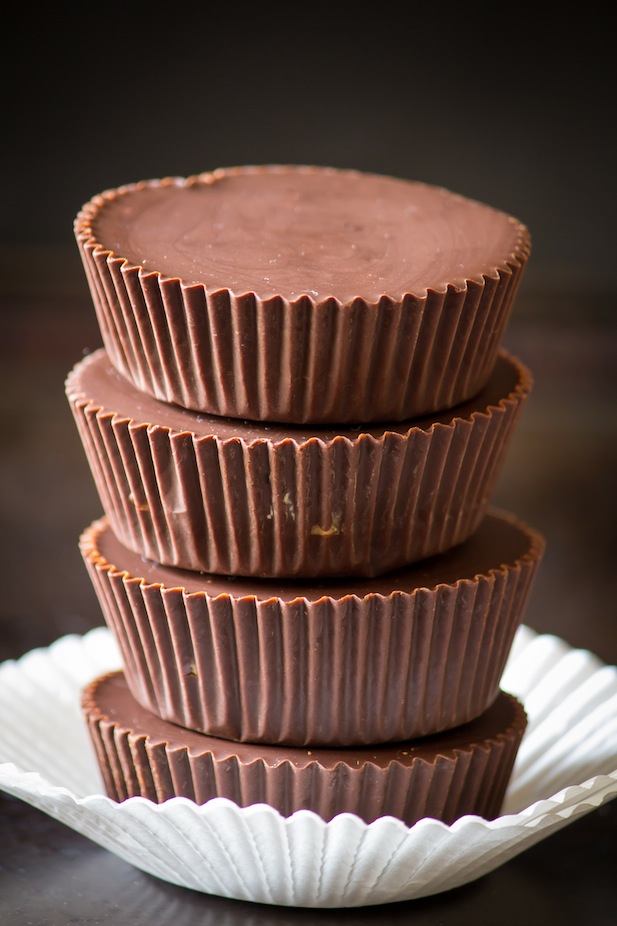
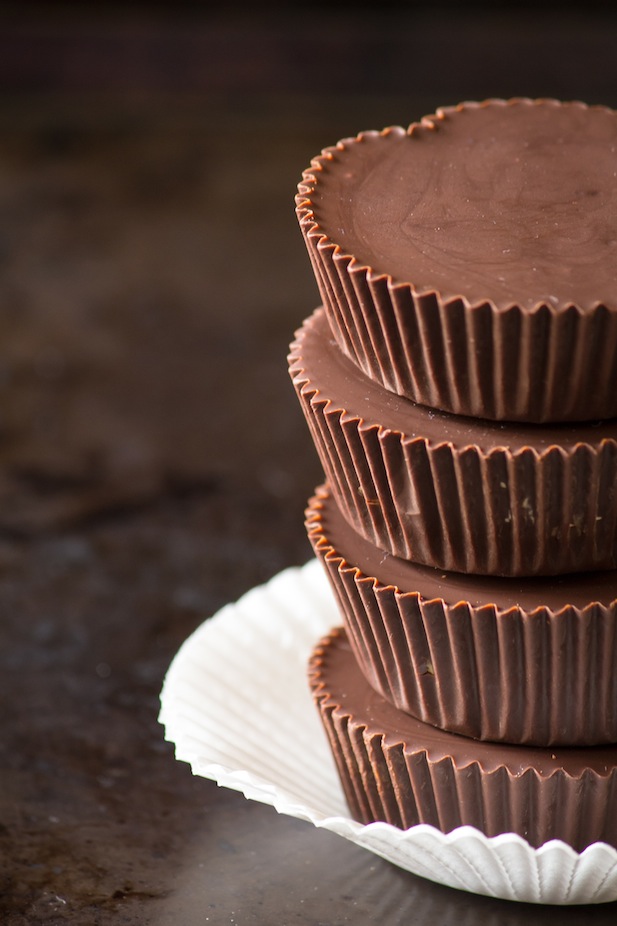
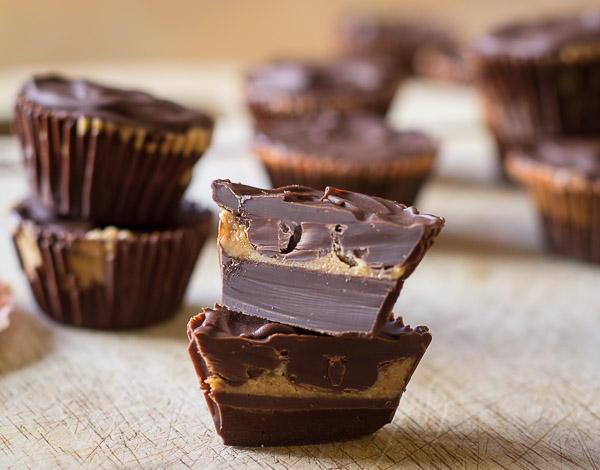
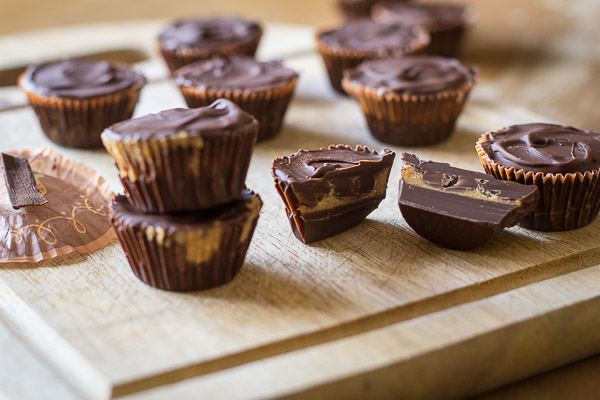
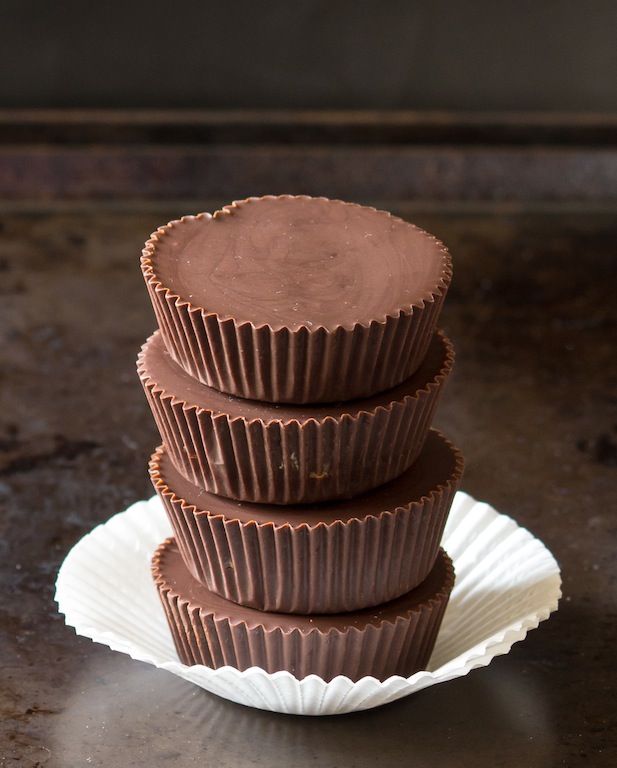
Can we all agree that peanut butter cups are the king of candy?

Peanut Butter Cups | ediblesoundbites.com

Be still my heart.

Halloween is right around the corner so there's no better time to make these.

Peanut Butter Cups | ediblesoundbites.comPeanut Butter Cups | ediblesoundbites.com

Many of the recipes I have seen either use a ton of powdered sugar or graham crumbs to thicken + sweeten the peanut butter filling. While that's okay as a treat, I really wanted to make the perfect peanut butter cup without all the added sugar.

Peanut Butter Cups | ediblesoundbites.comPeanut Butter Cups | ediblesoundbites.com

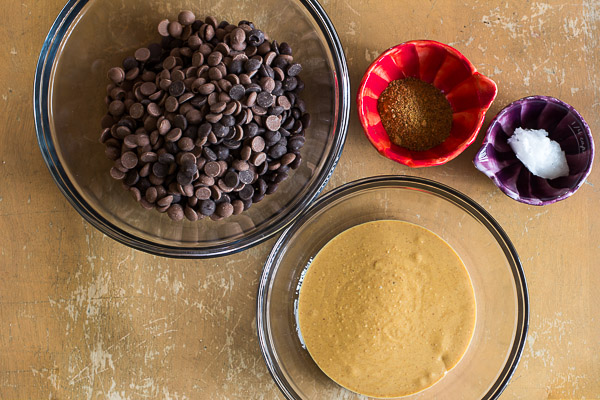
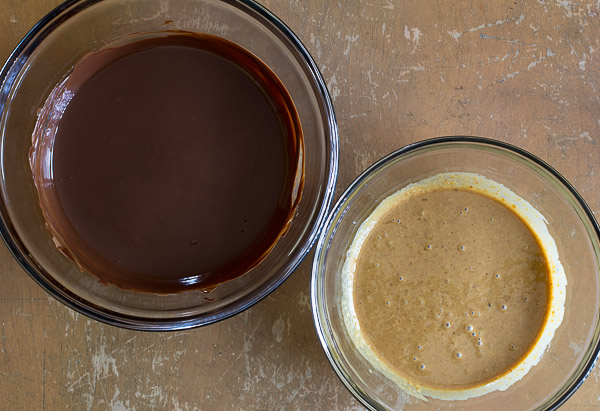
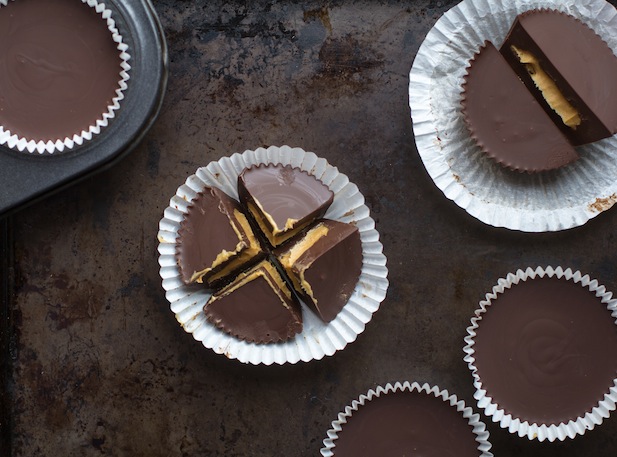
To make the peanut butter filling I added coconut oil to natural peanut butter. Since coconut oil is solid at room temperature it keeps the peanut butter from being too runny. But if you don't like the taste of it, or, are allergic, you can use regular butter instead or none at all.

Peanut Butter Cups | ediblesoundbites.com

I opted to use a combination of dark and milk chocolate, and chose to use an unsalted natural peanut butter so that I had the option to add a pinch of sea salt if the filling needed it. Sometimes that little bit of salt is all you need to round out the flavours just perfectly, especially when we're talking chocolate.

Peanut Butter Cups | ediblesoundbites.com

These can be made vegan or gluten free by using dairy-free or certified gluten-free chocolate such as Enjoy Life chocolate. Their mega chunks are my favourite to use.

When there are peanut butter cups, its a happy halloween for sure!

Peanut Butter Cups | ediblesoundbites.com

Peanut Butter Cups | ediblesoundbites.com

Peanut Butter Cups gluten free, vegan makes 12

Print or email this recipe

Ingredients:

  • 1 cup semi sweet chocolate, vegan if needed
  • 1 cup dark chocolate, vegan if needed
  • 1/4 cup creamy natural peanut butter
  • 1 1/2 tsp organic cane sugar (or sucanat/coconut sugar)
  • 1 tbsp coconut oil (or regular butter)
  • 1/8 tsp sea salt

Directions:

  1. Line a mini-muffin tin with paper liners; set aside.
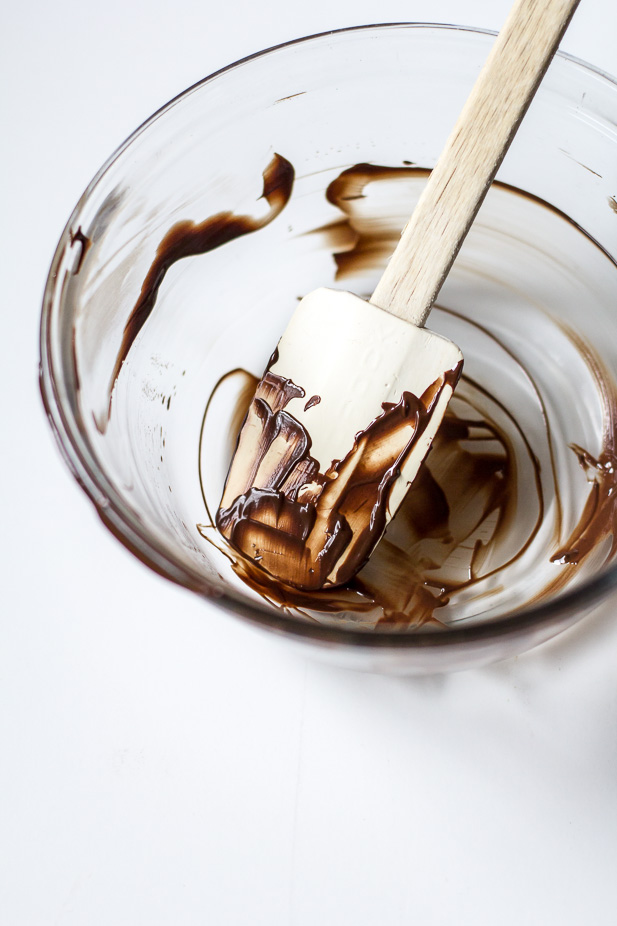
  2. Melt the chocolates in a small bowl set over - not in - a small pot of simmering water. Stir until melted and smooth. Remove from heat.
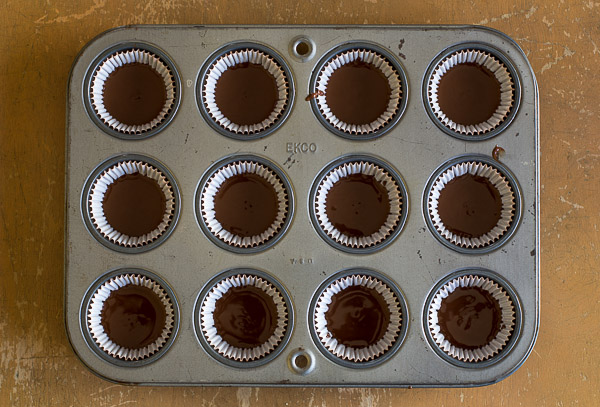
  3. Spoon about 1 tablespoon of the melted chocolate into the bottom of each muffin liner. Tap the pan gently on the counter to smooth out the surface. Refrigerate the tin until the chocolate begins to set; about 10-15 minutes.
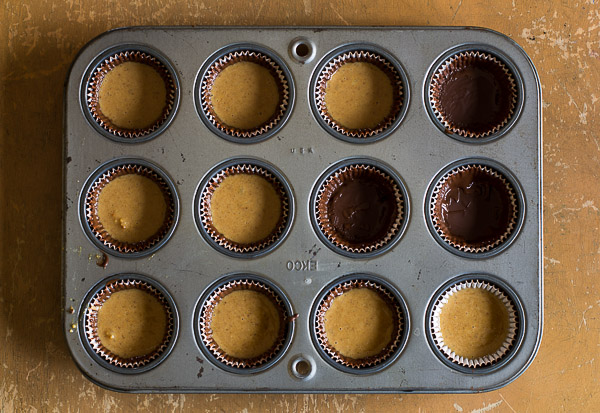
  4. Meanwhile, combine the peanut butter, sugar, coconut oil, and sea salt if using, in a small bowl and stir until smooth and creamy. Spoon one teaspoon of the peanut butter filling on top of the hardened chocolate. Place in the freezer for 5-10 minutes to set.
  5. Return the remaining chocolate to sit over the simmering pot of water and stir until smooth. Then top each cup with the melted chocolate, making sure the filling is completely covered.
  6. Refrigerate until set; about 30 minutes.

*Tip*

  • These are best if stored in the refrigerator in an airtight container. They can also be frozen. If you leave them out a white film that sometimes appears on chocolate will form after a few days. The reason for this is because the chocolate was just melted and not tempered. Store them in the fridge for up to 3 weeks. If you are freezing them they should last about 2 months.
  • If you want a more classic tasting peanut butter cup I recommend using all milk chocolate.

Peanut Butter Cups | ediblesoundbites.com